Step-by-Step Guide: How to Install and Pour Concrete in Sonotubes
Stop your concrete piers from leaning! Learn the professional way to install, brace, and pour concrete into Sonotubes for a rock-solid foundation.
Azeem Iqbal
Editor

Step-by-Step Guide: How to Install and Pour Concrete in Sonotubes
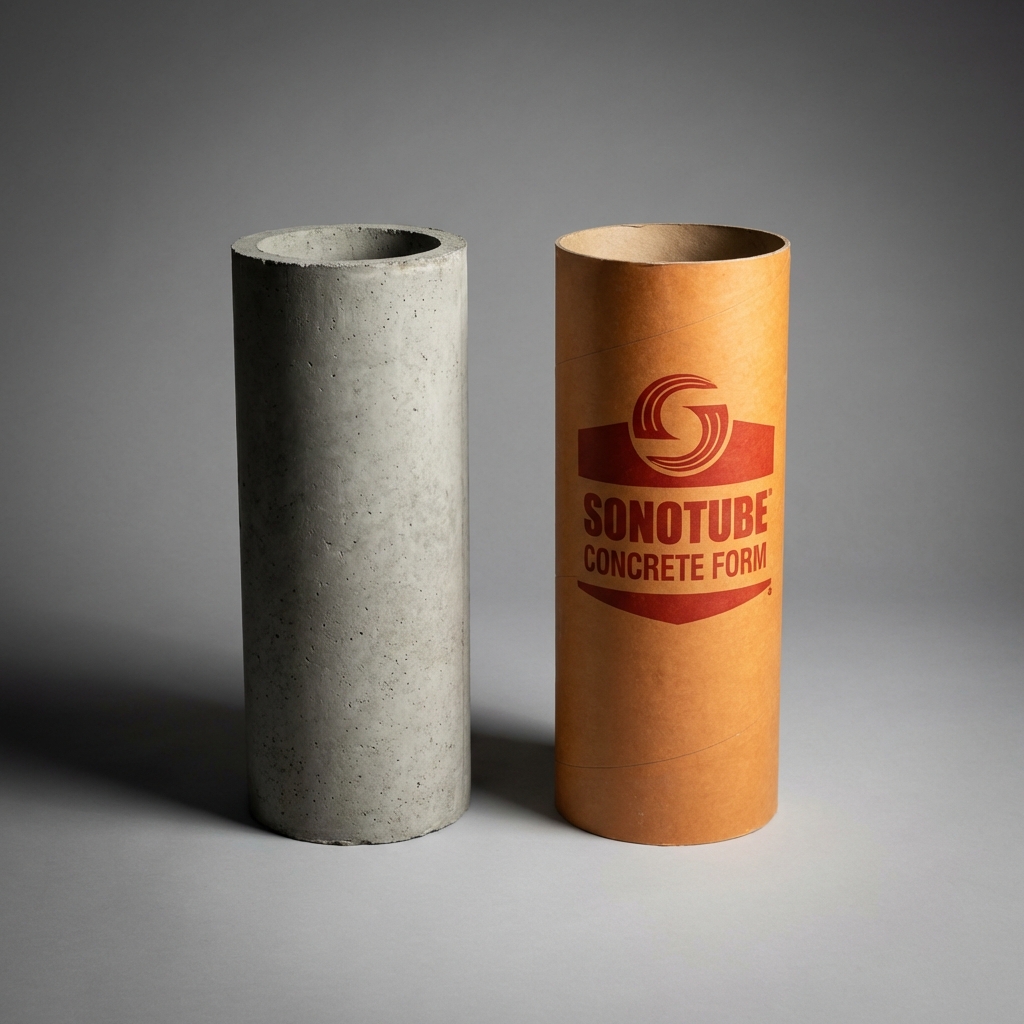
Installing a Sonotube correctly is the difference between a professional-looking foundation and a leaning, cracking disaster. The tube itself is flimsy; it relies on you to hold it straight while you dump hundreds of pounds of wet rock into it.
Here is the professional workflow for setting perfect piers.
Step 1: Dig and Prep
- Dig the Hole: Go to the frost depth required by your local code (often 36-48 inches).
- Width Matters: The hole should be 2-3 inches wider than your tube so you have room to adjust it.
- Gravel Base: Dump 4-6 inches of drain rock/gravel into the hole. Tamp it down. This is critical to prevent the tube from settling later.
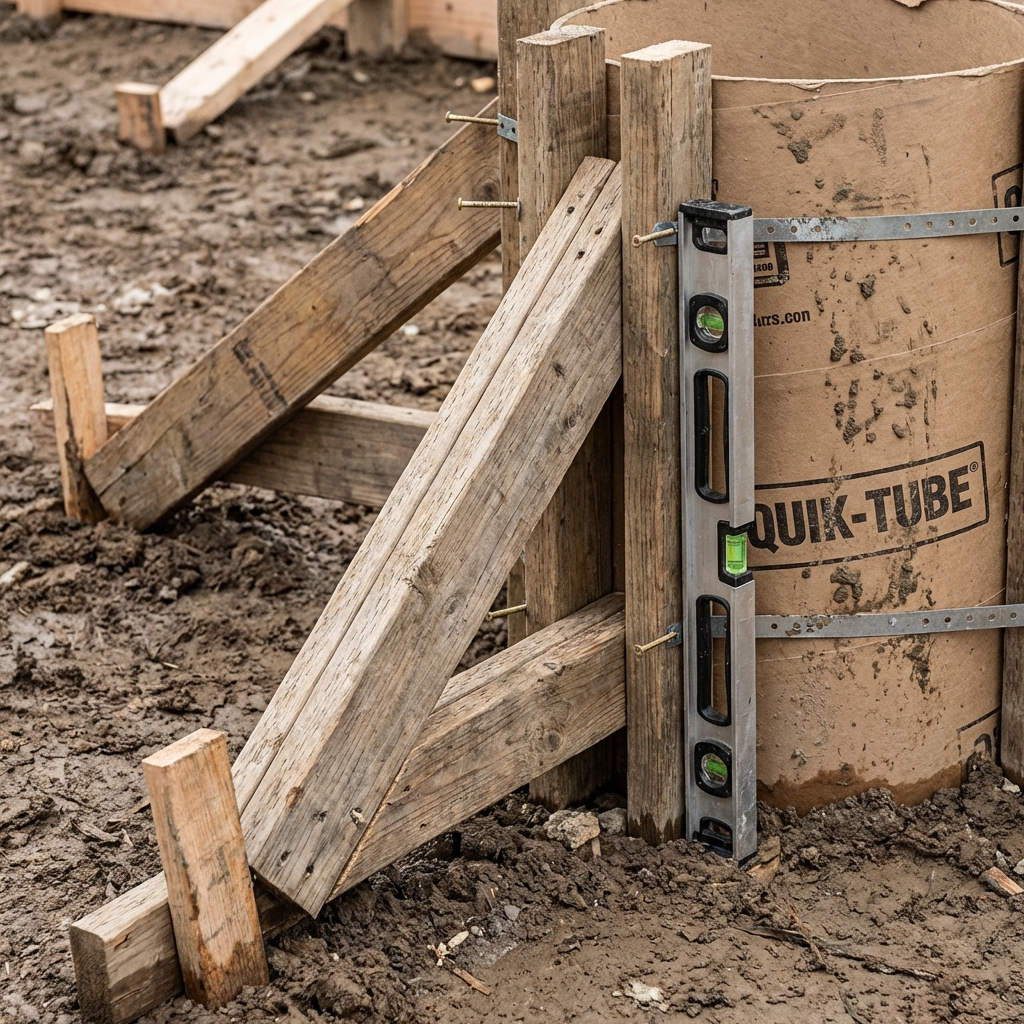
Step 2: Set and Brace (The Most Important Step)
A Sonotube naturally wants to fall over. You need to build a “cage” to hold it.
- Cut to Length: Measure the depth + stick-up height (at least 6” above grade). Cut the tube with a saw.
- Insert Tube: Place it in the hole.
- The 2x4 Collar: Build a square frame of 2x4 lumber that fits tight around the top of the tube.
- Stake and Screw: Drive stakes into the ground nearby. Run diagonal bracing from the stakes to the collar.
- Level It: Use a torpedo level on the side of the tube. Adjust the braces until it is perfectly plumb (vertical) in all directions.
- Backfill: Gently shovel dirt back around the bottom of the tube to lock the base in place.
Step 3: Rebar Reinforcement
Don’t skip this.
- Verticals: Drop 2-4 sticks of rebar down the center.
- Chairing: Don’t let the rebar sit in the dirt. Pull it up so it is suspended in the concrete (or stab it into the wet concrete immediately after pouring).
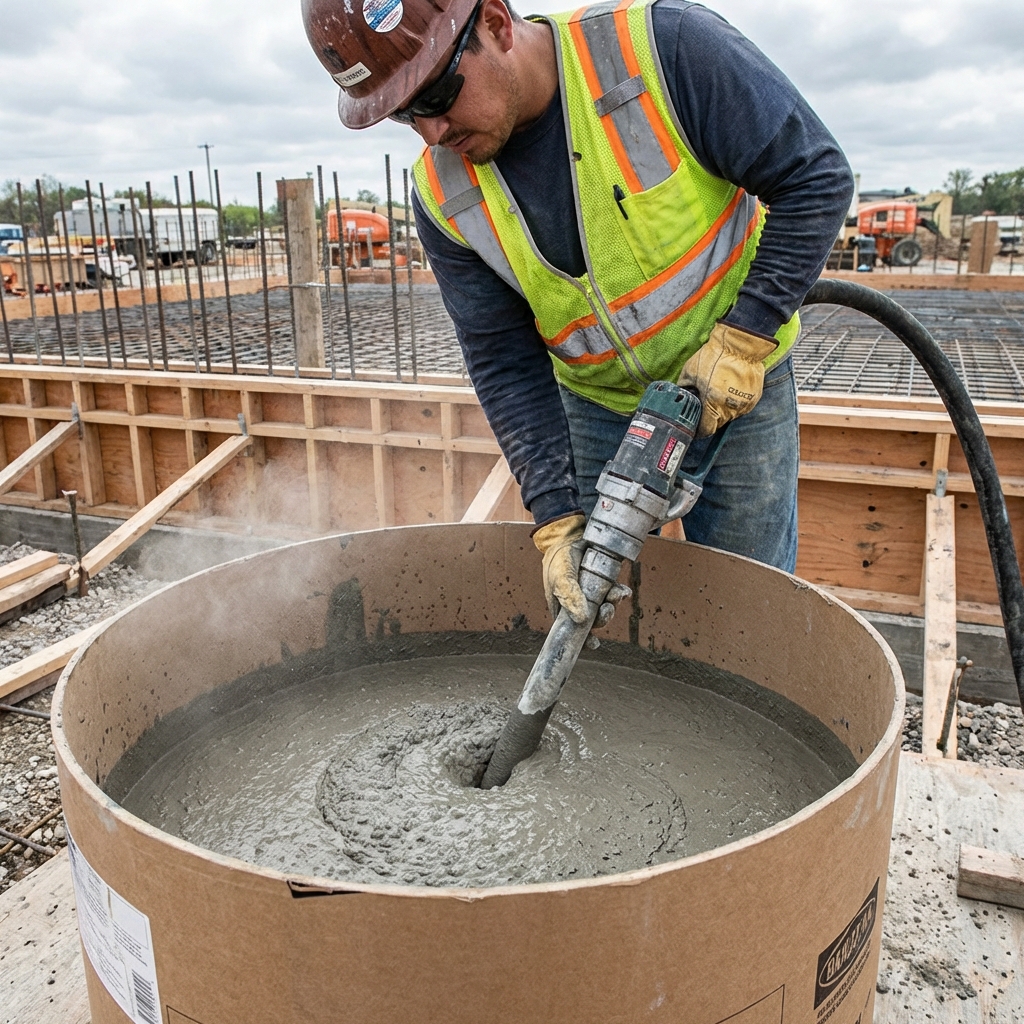
Step 4: The Pour
Mixing concrete is hard work. Pouring it into a 10-inch target is messy.
- Mix Consistency: You want “peanut butter,” not “soup.” If it’s too runny, it’s weak. If it’s too dry, you get “honeycombs” (air pockets).
- Fill in Lifts: Pour about 1 foot of height at a time.
- Consolidate: After each lift, take a scrap stick or a shovel handle and jab it up and down into the mix (rodding). Better yet, use a rented concrete vibrator. This releases trapped air bubbles that weaken the pier and make the surface look ugly.
- Tap the Sides: Tap the outside of the cardboard with a hammer. This encourages the cream to move to the outside, giving you a smooth finish.
Step 5: Finishing
- Screed: Once filled to the top, use a straight board to “saw” back and forth across the top rim to level the wet concrete.
- Set Anchors: While wet, push your “J-Bolts” or post base brackets (like Simpson Strong-Ties) into the center. Double-check their position! Once it sets, they are there forever.
- Cure: Let it sit. Do not build on it for at least 24-48 hours. Full cure takes 28 days, but it’s hard enough for posts in a couple of days.
Take your time on the bracing step. Once that concrete starts flowing, you won’t be able to move the tube!
? Frequently Asked Questions
How do I keep the Sonotube level?
Should I put gravel at the bottom of the hole?
Do I peel the Sonotube off after pouring?
How high should the concrete be above ground?
Can I pour in freezing weather?

About Azeem Iqbal
A passionate advocate for data-driven training. Dedicated to providing accurate tools and guides to help you optimize your cycling performance.